Table of Contents
ToggleWhen your Whirlpool dishwasher stops filling with water or takes forever to start a cycle, the culprit is often a failing water inlet valve. This small but critical component controls the flow of water into the dishwasher, and when it malfunctions, your machine won’t clean properly, or at all. The good news? Replacing a water inlet valve is a straightforward DIY repair that most homeowners can tackle in under an hour with basic tools. This guide walks through how the valve works, how to diagnose problems, and how to swap in a new one without calling a repair tech.
Key Takeaways
- A faulty water inlet valve is a common cause of Whirlpool dishwashers not filling properly, and diagnosing the issue through solenoid testing and screen cleaning can often identify the exact problem before replacement.
- Replacing a Whirlpool dishwasher water inlet valve is a DIY-friendly repair that takes 30–60 minutes and requires basic tools like an adjustable wrench, screwdrivers, and needle-nose pliers.
- Always verify your model number before ordering a replacement valve, as different Whirlpool models use different part numbers; OEM valves typically cost $30–$60 while quality aftermarket options range from $15–$35.
- Key warning signs your valve needs replacement include no water filling the tub, extremely slow filling, continuous leaks when the dishwasher is off, and humming sounds with no water flow.
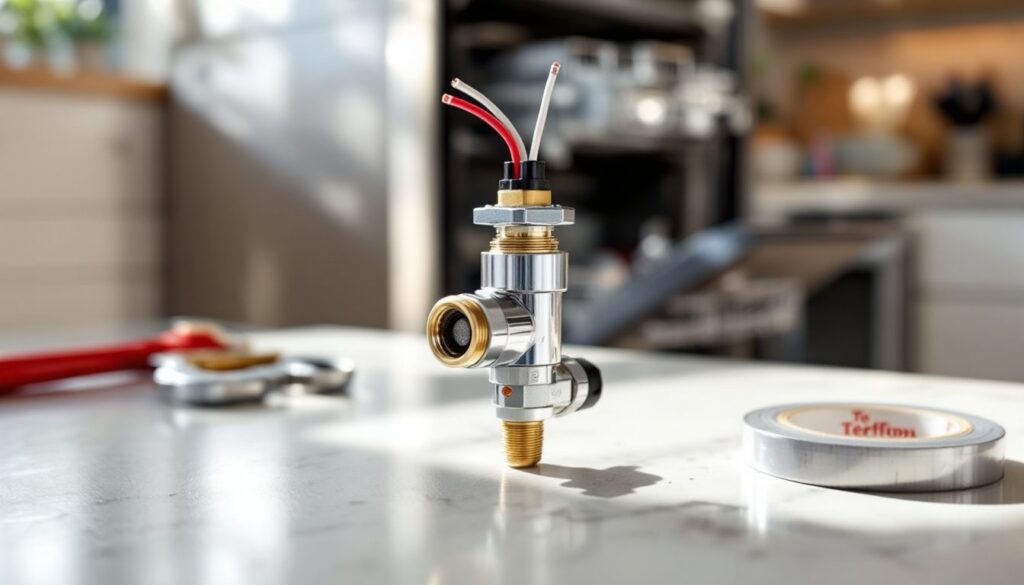
- Proper installation requires Teflon tape on supply line threads, careful reconnection of hoses with appropriate clamps, and a slow water supply turn-on to check for leaks before running a full test cycle.
What Is a Dishwasher Water Inlet Valve and How Does It Work?
The water inlet valve is an electrically controlled valve mounted at the bottom of your dishwasher, usually behind the lower access panel. It connects to your home’s water supply line and opens when the dishwasher’s control board sends a signal to start a wash cycle.
Here’s how it operates: when you start a cycle, the control board energizes a solenoid inside the valve. The solenoid opens a gate that allows water to flow from your household supply into the dishwasher tub. Once the tub reaches the correct water level (measured by a float or pressure switch), the control board cuts power to the solenoid, and a spring closes the valve to stop the flow.
Most Whirlpool dishwashers use a dual-solenoid inlet valve, meaning it has two separate coils that can control water flow independently. This allows the machine to regulate water for different cycles or spray arms. The valve typically requires 120 volts AC to activate and includes a built-in screen filter to catch sediment and debris from your water line.
If the valve fails to open, your dishwasher won’t fill. If it fails to close completely, you might get water leaking into the tub even when the machine is off, which can flood your kitchen floor or create standing water between cycles.
Common Signs Your Whirlpool Dishwasher Water Inlet Valve Is Failing
A faulty water inlet valve shows up in a few predictable ways. Knowing these symptoms helps you pinpoint the problem before you start tearing things apart.
The dishwasher doesn’t fill with water. This is the most obvious sign. You hear the normal startup sounds, but no water enters the tub. Sometimes the cycle times out or throws an error code.
Water fills very slowly. If it takes several minutes longer than usual to fill, the valve may be partially clogged or the solenoid is weak. Sediment buildup on the inlet screen is a common cause.
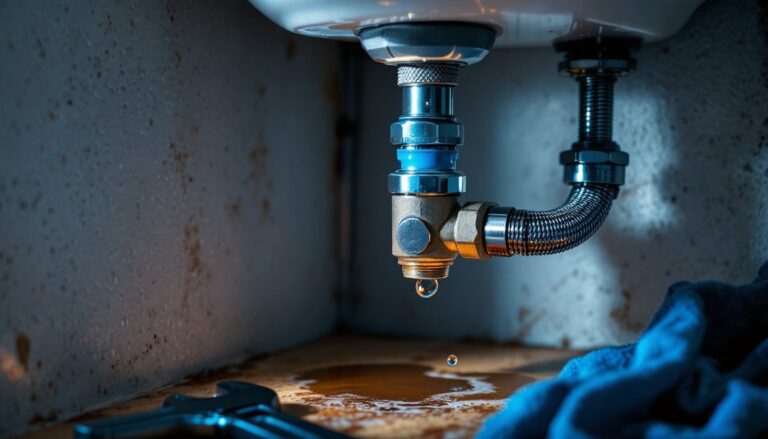
Water leaks into the tub when the dishwasher is off. A valve that doesn’t close fully will allow water to trickle in continuously. You’ll find standing water in the bottom of the tub even hours after a cycle finishes.
Humming or buzzing noise during fill. If you hear a hum but no water flows, the solenoid is getting power but the valve mechanism is stuck or failed. This often means the valve body is calcified or the solenoid coil is burned out.
Error codes related to water fill. Many Whirlpool models display codes like F2E2 or F8E4, which indicate a fill issue. Check your owner’s manual to confirm code meanings for your specific model.
If you notice any of these symptoms, the water inlet valve for your Whirlpool dishwasher is likely the issue, though it’s worth verifying before ordering a replacement.
How to Diagnose a Faulty Water Inlet Valve in Your Whirlpool Dishwasher
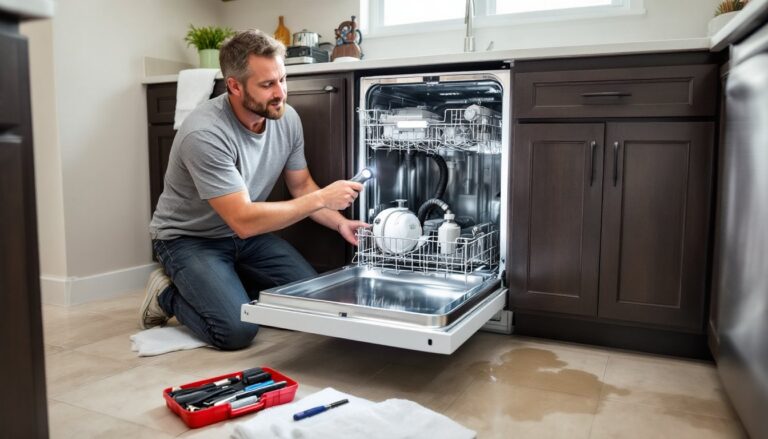
Before you buy a new valve, run through these checks to confirm it’s actually the problem. You’ll need a multimeter and a flashlight.
Check the water supply. Turn off power to the dishwasher at the breaker. Locate the water supply valve under your sink (usually a 3/8-inch angle stop) and make sure it’s fully open. Disconnect the supply line from the inlet valve and place the end in a bucket. Turn the water back on briefly, if you get strong flow, the supply side is fine.
Inspect the inlet screen. Remove the supply line from the valve and look inside the threaded inlet port. You’ll see a small mesh screen. Pull it out with needle-nose pliers and rinse it under a faucet. Mineral deposits and sediment can block flow, and cleaning the screen solves many “no fill” problems without replacing anything.
Test the solenoid with a multimeter. Set your multimeter to measure resistance (ohms). Disconnect power and remove the wire harness from the valve terminals. Place one probe on each terminal of the solenoid coil. A good valve typically reads between 500 and 1,500 ohms. If you get an open circuit (infinite resistance) or a very low reading (under 50 ohms), the solenoid is bad.
Check for mechanical failure. Even if the solenoid tests OK electrically, the valve can still be stuck. With the water supply off and the inlet line disconnected, try blowing gently through the inlet port, air shouldn’t pass through a closed valve. If air flows freely, the valve isn’t sealing.
If the solenoid is open, the screen is clear, and the water supply is good, but the dishwasher still won’t fill, the valve is almost certainly defective. A defective water inlet valve is one of the top reasons dishwashers fail to operate properly.
Finding the Right Replacement Water Inlet Valve for Your Whirlpool Model
Not all inlet valves are universal. Whirlpool uses different valves depending on the model and year, so you’ll need the correct part number to avoid return headaches.
Locate your model number. Open the dishwasher door and look along the top edge of the door frame or the side of the tub. You’ll see a label with the model and serial numbers. Write down the full model number, it’s usually a mix of letters and numbers like WDF520PADM7.
Cross-reference the part number. Visit the Whirlpool parts website or a third-party appliance parts supplier (like PartSelect or AppliancePartsPros). Enter your model number and search for “water inlet valve.” The site will show you the exact OEM part number that fits your machine. Common Whirlpool inlet valve part numbers include W10158389, W10844024, and WPW10195527, but don’t assume, verify for your specific model.
OEM vs. aftermarket parts. OEM (Original Equipment Manufacturer) valves are made by or for Whirlpool and typically cost $30–$60. Aftermarket valves are cheaper ($15–$35) and often work fine, but quality varies. If you go aftermarket, check reviews and look for valves that specify compatibility with your model.
Check what’s included. Some replacement valves come with new mounting brackets, hose clamps, or wire connectors. Others are valve-only. Read the product description to see if you need to order additional hardware.
Where to buy. You can order from Whirlpool directly, Amazon, local appliance parts stores, or big-box retailers like Home Depot and Lowe’s. Shipping is usually 2–5 days, so plan accordingly if your dishwasher is out of service.
Step-by-Step Guide to Replacing a Whirlpool Dishwasher Water Inlet Valve
Swapping a water inlet valve is a straightforward repair, but it involves water lines and electrical connections, so take your time and follow safety protocols.
Tools and Materials You’ll Need
Tools:
- Adjustable wrench (for supply line nuts)
- Screwdriver set (Phillips and flat-head)
- Needle-nose pliers
- Towels and a shallow pan (to catch residual water)
- Flashlight or headlamp
- Multimeter (optional, for final testing)
Materials:
- Replacement water inlet valve (correct part number for your model)
- Teflon tape (for supply line threads)
- New hose clamps (if originals are corroded: typically 1/2-inch or 5/8-inch)
Safety Gear:
- Work gloves (to protect hands from sharp edges)
- Safety glasses (when working under the dishwasher)
Replacement Process
1. Cut power and water. Turn off the dishwasher circuit breaker at your main panel. Don’t just use the door switch, you need zero power to the unit. Next, shut off the water supply valve under the sink. Open the dishwasher door and remove the bottom rack to give yourself workspace.
2. Remove the lower access panel. Most Whirlpool dishwashers have a front panel or kickplate held by screws at the ends. Remove the screws (usually two or four) and lift the panel off. You’ll now see the underside of the tub and the inlet valve, typically mounted on the left front corner.
3. Disconnect the water supply line. Use an adjustable wrench to loosen the compression nut connecting the household supply line to the valve inlet. Have a towel ready, some water will drip out. Once the nut is off, pull the line free.
4. Disconnect the internal hoses. The outlet side of the valve connects to one or two rubber hoses that run to the tub. These are held by spring clamps or worm-gear clamps. Use needle-nose pliers to squeeze and slide spring clamps down the hose, or a screwdriver to loosen worm-gear clamps. Pull the hoses off the valve ports. Expect a small amount of water to spill.
5. Disconnect the wiring harness. The valve has a wire connector (usually a multi-pin plug). Press the locking tab and pull the connector straight off. Don’t yank on the wires themselves.
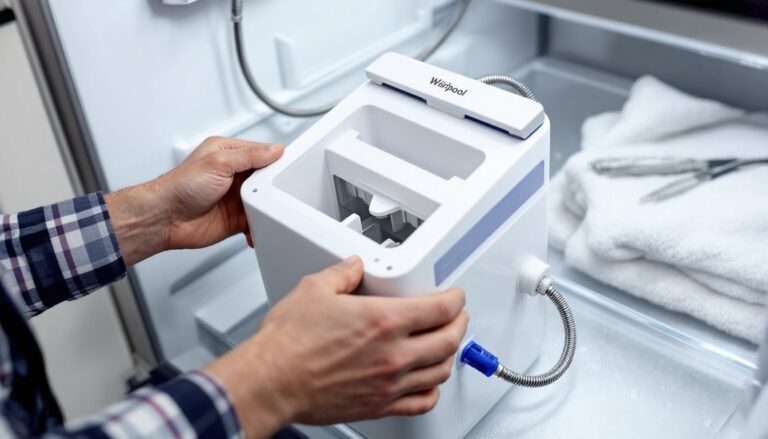
6. Remove the old valve. The valve is typically secured to a mounting bracket with one or two screws or bolts. Remove the fasteners and lift the valve out. Note the orientation and position, take a photo with your phone if it helps.
7. Install the new valve. Position the replacement valve in the same orientation as the old one. Secure it to the mounting bracket with the screws provided (or reuse the originals if they’re in good shape). Make sure the valve sits flush and stable.
8. Reconnect the internal hoses. Slide the rubber hoses onto the outlet ports of the new valve. Push them on firmly, about 1/2 inch past the barb. Reinstall the clamps and position them over the hose connection. Squeeze spring clamps into place or tighten worm-gear clamps until snug (don’t overtighten and crack the plastic barbs).
9. Reconnect the wire harness. Push the connector onto the valve terminals until you hear or feel it click into place.
10. Attach the water supply line. Wrap the threads of the supply line fitting with two or three turns of Teflon tape (wrap clockwise when looking at the threads). Thread the compression nut onto the valve inlet by hand, then tighten with a wrench. Snug it firmly, but don’t crank it, over-tightening can crack the valve body. Many experienced DIYers have noted the importance of proper techniques in home repair tutorials that stress hand-tightening first.
11. Inspect your work. Double-check all connections: hoses clamped, supply line tight, wiring secure, valve bolted down.
12. Test for leaks. Turn the water supply back on slowly and watch the valve and connections. Look for drips or seepage. If you see any, shut off the water and re-tighten the connection.
13. Restore power and run a test cycle. Flip the breaker back on. Close the dishwasher door and start a short rinse cycle. Listen for the valve to energize (you’ll hear a click or hum) and watch for water entering the tub. If water flows normally and the cycle proceeds without error codes, you’re done. For peace of mind, many homeowners cross-check procedures with trusted appliance maintenance resources before completing repairs.
14. Reinstall the access panel. Once you’ve confirmed everything works, screw the lower panel back into place and replace the bottom rack.
The entire job typically takes 30–60 minutes, depending on how accessible the valve is and whether you encounter any stubborn clamps or fittings. If you run into a stuck supply line nut or corroded clamps, a penetrating lubricant (like PB Blaster) and a little patience usually do the trick.