Table of Contents
ToggleStanding water pooling under your dishwasher isn’t just annoying, it’s a potential hazard for your flooring, cabinets, and even the structural integrity of your kitchen. Whirlpool dishwashers are reliable workhorses, but like any appliance that handles gallons of water under pressure, they can develop leaks over time. Most bottom leaks stem from a handful of common culprits: worn gaskets, loose hose connections, or failing pump seals. The good news? Many of these issues are straightforward to diagnose and fix yourself with basic tools and a little patience. This guide walks through identifying the source of the leak and executing the most common repairs without calling in a technician.
Key Takeaways
- A Whirlpool dishwasher leaking from the bottom typically results from worn gaskets, loose hose connections, or failing pump seals—most of which you can diagnose and repair yourself.
- Identify when the leak occurs (during filling, mid-wash, or draining) to pinpoint the source: supply line issues, door seals, tub cracks, or drain problems.
- Replace a faulty door gasket in 15–30 minutes for $15–$40, tighten loose hose clamps with basic tools, or tackle pump seal replacement in 1–2 hours if you’re comfortable with appliance disassembly.
- Monthly maintenance—cleaning the door gasket, rinsing the filter, and inspecting hose connections—prevents future leaks and extends your dishwasher’s lifespan.
- Install a high loop on your drain hose, run monthly vinegar cycles, and avoid overloading to protect seals and pump components from premature wear.
Why Is Your Whirlpool Dishwasher Leaking from the Bottom?
A dishwasher leak from the bottom typically indicates water escaping during the wash or drain cycle, rather than from the door or spray arm. Since Whirlpool models circulate water through a pump system and drain via hoses routed beneath the unit, any failure in those components will send water onto your floor.
Bottom leaks usually fall into three categories: seal failures, connection problems, or component wear. Seal failures include deteriorated door gaskets or pump seals that no longer create a watertight barrier. Connection problems involve hoses that have loosened over time due to vibration or weren’t tightened properly during installation. Component wear affects parts like the pump assembly or the tub itself, which can crack or corrode after years of use.
Understanding which category your leak falls into will determine whether you need a $15 rubber gasket or a $100+ pump replacement. It also tells you whether the fix is a 20-minute job or requires pulling the dishwasher out from under the counter and disconnecting supply lines. Before ordering parts, invest time in accurate diagnosis, misidentifying the problem wastes money and delays the fix.
How to Diagnose the Source of the Leak
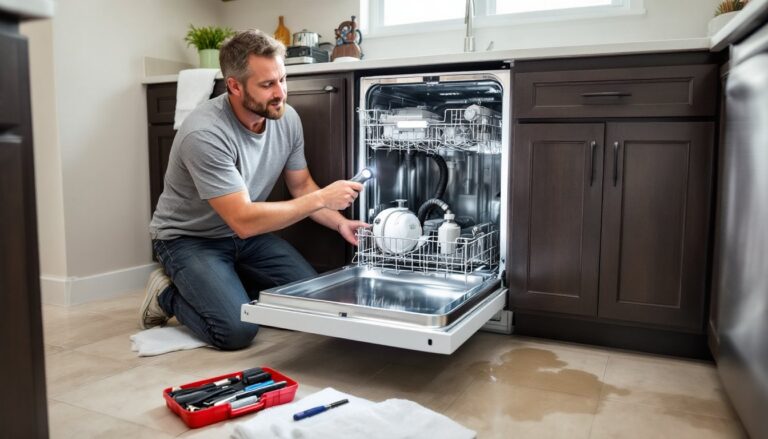
Start by running the dishwasher through a cycle while you observe from the outside. Remove the lower access panel (usually held by two screws at the bottom of the door) so you can see beneath the tub while the machine operates. Place a flashlight and dry towels under the unit.
Safety first: Unplug the dishwasher or flip its breaker before removing panels or inspecting internal components. Water and electricity don’t mix.
Run a short rinse cycle and watch for drips. Note when the leak occurs: during filling, mid-wash, or draining. Timing matters. A leak during filling often points to supply line issues: mid-wash leaks suggest door seals or tub cracks: drain-cycle leaks implicate the drain hose or pump.
Check these areas systematically:
- Door gasket: Run your hand along the rubber seal on the door’s perimeter. Look for cracks, tears, or sections that feel brittle.
- Hose connections: Trace the drain hose from the pump to the sink drain or garbage disposal. Wiggle each connection point, if it moves, it’s too loose.
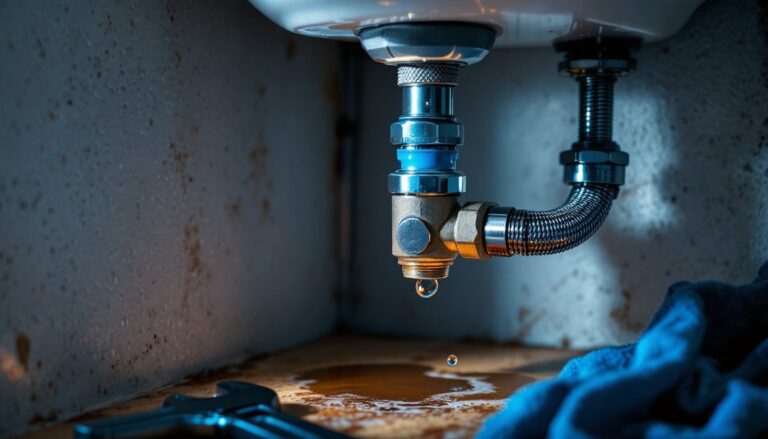
- Pump area: Water pooling directly below the pump (center-bottom of the unit) suggests a pump seal failure.
- Spray arm and tub: Overfilling or a cracked tub (rare but possible) will cause water to spill over or seep through.
Use food coloring in the tub water if the leak is slow. A few drops of color make it easier to trace the exact path water takes as it escapes. Mark suspect areas with painter’s tape so you don’t lose track during disassembly.
Common Causes and DIY Fixes for Bottom Leaks
Faulty Door Gasket or Seal
The door gasket is a continuous rubber loop that sits in a channel around the tub opening. It compresses when you close the door, creating a seal that prevents water from escaping during the wash cycle. Over time, detergent residue, hard water deposits, and heat cause the gasket to crack, shrink, or lose elasticity.
Inspect the gasket closely. Pull gently on sections to see if they’ve pulled away from the channel. If you spot visible damage or the gasket feels stiff, replacement is the fix.
How to replace it:
- Order a Whirlpool-compatible door gasket using your model number (located inside the door edge or on the side of the tub). Gaskets run $15–$40 depending on the model.
- Open the door and peel the old gasket out of its channel. Some models use clips: others rely on friction fit.
- Clean the channel thoroughly with a mix of white vinegar and water to remove buildup.
- Starting at the top center, press the new gasket into the channel, working your way around both sides. Ensure it seats evenly without twists.
- Close the door and run a short cycle to test the seal.
This repair takes 15–30 minutes and requires no tools beyond a sponge and possibly a flathead screwdriver to pry stubborn sections. Wear gloves if using harsh cleaners during prep.
Damaged or Loose Hose Connections
Whirlpool dishwashers use two main hoses: a supply line (bringing fresh water in) and a drain hose (expelling dirty water). The drain hose typically connects to the underside of the sink or to a garbage disposal unit. Vibration during operation can loosen hose clamps over time, and the hoses themselves can crack if they contact sharp edges or get pinched.
Pull the dishwasher forward enough to access the rear connections (you may need a second person to help slide it out). Disconnect power first. Check both ends of the drain hose and the supply line connection.
Fixing loose connections:
- Tighten hose clamps with a 5/16″ nut driver or flathead screwdriver. If the clamp is stripped, replace it with a new worm-drive hose clamp (50¢ each at any hardware store).
- If the hose itself is cracked, replace it. Drain hoses are typically 5/8″ or 3/4″ ID (inner diameter) and sold by the foot. Cut to length and secure with new clamps.
For reference, troubleshooting drainage issues often overlaps with leak diagnostics, since clogs can cause backpressure that forces water out of weak points.
Pro tip: Loop the drain hose upward before it descends to the sink drain (this is called a high loop or air gap). It prevents backflow from the sink and reduces stress on connections. Many codes require this configuration.
Worn Out Pump Seal or Pump Assembly
The circulation pump sits at the bottom center of the dishwasher tub. It pulls water from the sump (the basin below the filter) and pushes it through the spray arms. A rubber seal or gasket between the pump and tub housing prevents leakage. When this seal degrades, water drips directly onto the floor during wash cycles.
Diagnosing a pump seal leak: Water appears below the center of the unit during the wash cycle but not during filling or draining. You may also hear a change in pump noise, a worn seal sometimes allows air into the system, causing cavitation (a rattling or groaning sound).
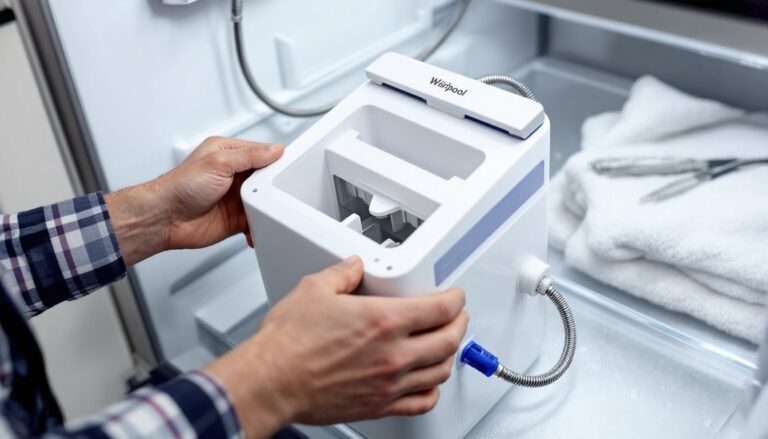
Replacing the pump seal or pump:
- Disconnect power and water supply. Pull the dishwasher out and tip it gently onto its back (place cardboard underneath to protect the door).
- Remove the bottom spray arm and filter assembly from inside the tub.
- Unbolt the pump assembly from below (typically 3–4 screws or nuts). Disconnect the wiring harness and hose connections.
- If only the seal is damaged, pry it out and press a new one into place (seals cost $10–$20). If the pump housing is cracked or the impeller is damaged, replace the entire pump assembly ($60–$150 depending on model).
- Reinstall in reverse order, ensuring all connections are snug.
This job takes 1–2 hours and requires a socket set, adjustable wrench, and needle-nose pliers. Pump replacements are intermediate-level repairs, if you’re uncomfortable working with appliance disassembly, this is a reasonable time to call a pro. Many DIY home repair guides walk through similar appliance pump replacements with photo steps.
Preventing Future Leaks: Maintenance Tips
Once you’ve fixed the leak, a little routine maintenance goes a long way toward preventing repeat failures.
Monthly:
- Clean the door gasket with a damp cloth and mild detergent. Wipe away food particles and mineral deposits that accelerate wear.
- Remove and rinse the filter. A clogged filter forces the pump to work harder, increasing pressure on seals and connections.
Every 3–6 months:
- Inspect hose connections for tightness. A quick check while you’re under the sink prevents slow leaks from becoming flood events.
- Run an empty cycle with a cup of white vinegar placed upright in the top rack. This dissolves mineral buildup inside the pump and spray arms.
Annually:
- Check the drain hose for kinks or cracks. Replace if it shows signs of wear.
- Test the door latch and hinges. A misaligned door stresses the gasket unevenly, causing premature failure.
Avoid overloading the dishwasher or forcing the door closed when dishes block the seal. Even a small gap allows water to escape during high-pressure wash cycles. If your water supply has high mineral content, consider installing an inline water softener for the dishwasher, hard water accelerates gasket and pump seal degradation.
Most dishwashers, including Whirlpool models, have a lifespan of 10–13 years with proper care. Catching small leaks early and addressing them with targeted repairs extends that lifespan and saves you from the cost of premature replacement. For broader appliance maintenance strategies, resources like Bob Vila’s guides offer seasonal checklists tailored to different home systems.
If you’ve replaced seals and hoses but still see persistent leaking, the issue may be a cracked tub or a failed door latch assembly, both are less common but occasionally occur in older units. At that point, weigh repair costs against replacement. A new mid-range dishwasher runs $400–$700, while a tub replacement (if even available for your model) can approach half that cost once you factor in labor.