Table of Contents
ToggleWhen your Whirlpool dishwasher suddenly refuses to start, cycles through programs erratically, or displays cryptic error codes, the culprit is often the control board, the appliance’s electronic brain. This flat circuit board manages every function from water temperature to cycle timing, and when it fails, the entire machine can become unusable. Fortunately, diagnosing and replacing a faulty control board is a straightforward DIY project that can save homeowners several hundred dollars in service calls. This guide walks through identifying control board problems, sourcing the correct replacement part, and completing the swap-out safely and efficiently.
Key Takeaways
- A faulty Whirlpool dishwasher control board can cause the machine to fail to start, display error codes, or cycle erratically, but DIY replacement saves $200–$400 in labor costs.
- Before replacing the control board, verify power supply, test the door latch switch, reset the board by disconnecting power for five minutes, and inspect wiring harnesses for loose connections.
- Locate your model number on the door frame sticker to find the correct replacement part—OEM boards cost $150–$350 while compatible aftermarket options range from $80–$200.
- Whirlpool dishwasher control board replacement takes 30–60 minutes and requires only basic tools; always photograph wiring before disassembly to ensure proper reconnection.
- Extend control board lifespan by installing surge protection, addressing water leaks immediately, maintaining proper ventilation, and running the dishwasher regularly to prevent moisture accumulation.
What Is a Dishwasher Control Board and Why It Matters
The control board (also called the main control module or electronic control board) serves as the command center for a Whirlpool dishwasher. Mounted either behind the front door panel or underneath the tub, this printed circuit board receives input from buttons, sensors, and timers, then sends signals to activate pumps, heating elements, inlet valves, and drain motors.
Two types of boards exist in most modern dishwashers: the user interface board (the keypad panel homeowners interact with) and the main control board (the processor that executes commands). In some models, these are integrated into a single unit: in others, they’re separate components connected by a ribbon cable.
When the control board malfunctions, it can prevent the dishwasher from starting, cause mid-cycle shutdowns, or trigger incorrect cycle selections. Because it governs every electrical function, a failed board essentially bricks the appliance until replaced. Understanding its role helps homeowners distinguish between a genuine board failure and simpler issues like a tripped breaker or kinked drain hose.
Common Signs Your Whirlpool Dishwasher Control Board Is Failing
Control board failures rarely happen without warning. Watch for these telltale symptoms:
The dishwasher won’t start at all. Pressing the start button produces no response, no lights, no sounds, no water intake. This is the most common indicator, though it can also point to door latch issues or power supply problems.
Lights flicker or display erratic behavior. LED indicators flash randomly, cycle lights advance without running the corresponding wash stage, or the display shows garbled characters.
Cycles start but don’t complete. The machine begins filling or washing, then stops mid-cycle without draining or advancing. Sometimes it restarts spontaneously hours later.
Error codes appear repeatedly. Fault codes (check your owner’s manual for model-specific codes) persist even after resetting the machine or addressing the indicated issue.
Buttons don’t respond or select wrong cycles. Pressing “Normal Wash” might trigger “Heavy Duty,” or the control panel becomes entirely unresponsive to touch.
Unusual electrical smells or visible burn marks. A burnt-plastic odor or scorch marks on the control board housing indicate electrical arcing or component failure.
If multiple symptoms appear together, the control board is often the issue, especially in units older than five years where capacitor degradation and solder joint fatigue become common.
How to Diagnose Control Board Problems in Your Whirlpool Dishwasher
Before ordering a replacement board, eliminate simpler causes. Start with these checks:
Verify power supply. Confirm the dishwasher’s circuit breaker is on and the outlet (if plug-in model) delivers 120V using a multimeter. Check for tripped GFCI outlets in the kitchen.
Inspect the door latch and door switch. The dishwasher won’t start if the door switch doesn’t signal a closed position. Test continuity across the switch terminals with the door closed.
Reset the control board. Disconnect power at the breaker for five full minutes to allow capacitors to discharge. This clears temporary glitches and memory errors. Restore power and test operation.
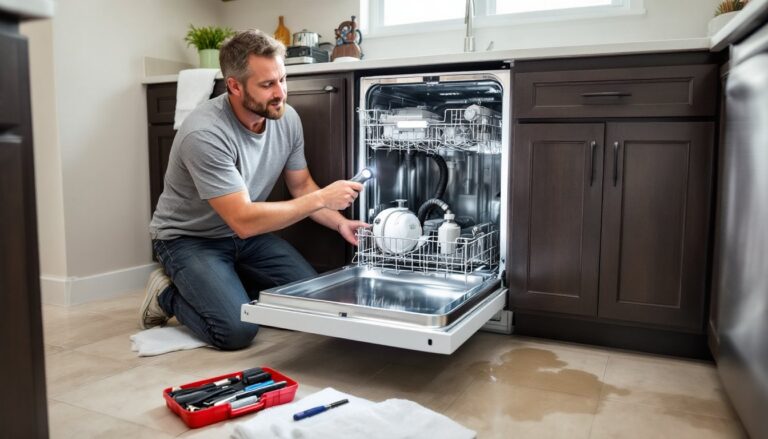
Examine wiring harnesses. Pull the dishwasher out and remove the lower access panel. Look for loose connectors, chewed wires (rodents), or corroded terminals at the control board. A single disconnected wire can mimic board failure.
Test with a multimeter. If comfortable with electrical diagnostics, measure voltage at the control board’s input terminals while the machine is plugged in (use extreme caution, live voltage present). You should read approximately 120V AC. No voltage means a wiring issue upstream.
Check thermal fuses. Some Whirlpool models include a thermal fuse on the control board or nearby wiring that blows if the unit overheats. Use a multimeter to test continuity, zero resistance means the fuse is intact.
If all these checks pass but symptoms persist, the control board itself has likely failed. Component-level repair (replacing capacitors or relays) is possible for experienced electronics hobbyists, but most homeowners will find a full board swap more practical.
Finding the Right Replacement Control Board for Your Model
Whirlpool dishwasher control boards are model-specific, using the wrong part guarantees failure. Locate your model number on the sticker inside the door frame or along the tub’s top edge. It typically follows the format “WDF520PADM” or similar.
Once you have the model number, cross-reference it to find the correct part number. Options include:
Whirlpool OEM parts. Ordering directly from Whirlpool or authorized dealers ensures an exact factory replacement. OEM boards cost $150–$350 depending on model complexity.
Third-party aftermarket boards. Companies like Repair Clinic, PartSelect, and AppliancePartsPros sell compatible boards at $80–$200. Verify compatibility by entering your full model number, many sellers provide fitment tools on their websites.
Refurbished boards. Some suppliers offer remanufactured control boards with warranties. These cost 20–40% less than new OEM parts but may have shorter lifespans.
When comparing options, check the warranty. OEM parts typically include 90-day to one-year warranties, while aftermarket boards range from 30 days to lifetime coverage depending on the supplier.
Avoid generic “universal” control boards, these rarely work and can damage other components. If cost is a concern, consider that professional dishwasher control board replacement typically runs $200–$400 in labor alone, making DIY replacement attractive even with OEM pricing.
Step-by-Step Guide to Replacing a Whirlpool Dishwasher Control Board
Whirlpool dishwasher control board replacement takes 30–60 minutes with basic hand tools. Always disconnect power at the breaker before starting, dishwashers run on 120V AC, enough to cause serious injury.
Tools and Materials Needed
- Phillips and Torx screwdrivers (T15 and T20 common)
- Nut driver set (¼” typical)
- Needle-nose pliers
- Work light or headlamp
- Camera or smartphone (to photograph wiring)
- Replacement control board (model-specific)
- Safety glasses
Replacement Steps
1. Disconnect power. Turn off the dedicated circuit breaker for the dishwasher. If the unit plugs in, unplug it. Use a non-contact voltage tester to confirm no voltage at the junction box.
2. Remove the door panel screws. Open the door and locate screws along the top edge and sides of the inner door panel. Remove these (typically six to ten Torx or Phillips screws). On some models, you’ll also need to remove the control panel trim.
3. Separate the door panels. Carefully pull the inner panel away from the outer door. The control board assembly is mounted to the back of the control panel. Let the inner panel rest open, don’t fully detach it yet.
4. Photograph existing wiring. Before disconnecting anything, take clear photos of every wire harness, connector orientation, and cable routing. This is critical for reassembly.
5. Disconnect wire harnesses. Unplug all connectors from the old control board. Most use locking tabs, press the release and pull straight out. Label connectors with masking tape if wiring isn’t color-coded.
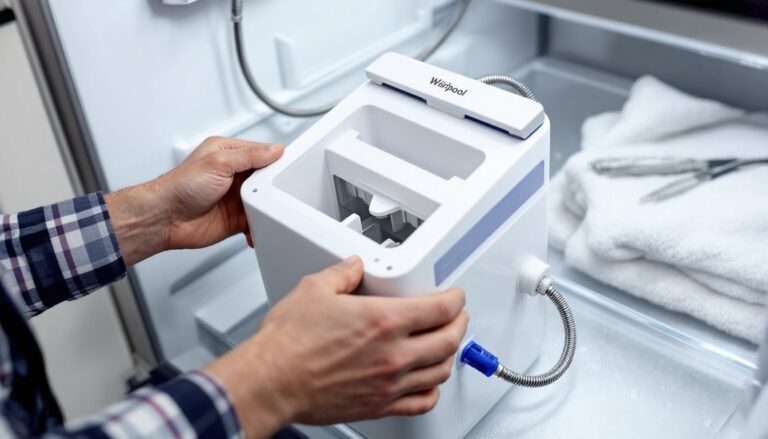
6. Remove the control board mounting screws. The board is typically secured with two to four screws to a plastic bracket. Remove these and lift the old board free.
7. Install the new control board. Position the replacement board on the mounting bracket, aligning screw holes. Secure with the original screws.
8. Reconnect wire harnesses. Attach connectors to the new board, referencing your photos. Push each connector until it clicks. Ribbon cables require careful alignment, don’t force them.
9. Reassemble the door panel. Close the inner panel against the outer door and replace all screws in reverse order. Ensure the control panel sits flush before tightening fully.
10. Restore power and test. Turn the breaker back on. Press the power button and run a short rinse cycle to verify operation. Check that all buttons respond correctly and the cycle completes without errors.
If the dishwasher still doesn’t function, double-check that all connectors are fully seated. A partially connected ribbon cable is a common oversight. For detailed visual guidance, step-by-step photo tutorials can clarify connector locations on specific models.
Preventive Maintenance Tips to Extend Control Board Life
Control boards typically fail due to power surges, moisture intrusion, or overheating. These practices reduce failure risk:
Install a surge protector. Kitchen appliances face frequent voltage spikes from compressor motors (refrigerators) and HVAC startups on the same circuit. A whole-house surge protector (installed at the breaker panel by an electrician) or a point-of-use surge outlet provides protection.
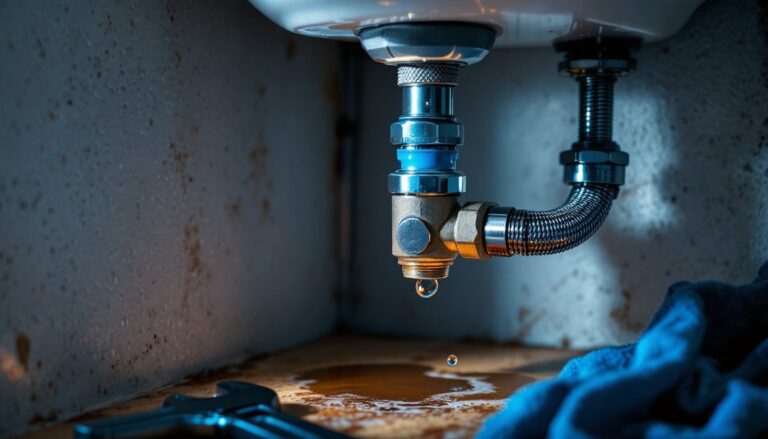
Address leaks immediately. Water dripping onto the control board from a faulty door seal or damaged spray arm accelerates corrosion. Replace worn gaskets and tighten hose connections at the first sign of moisture.
Ensure proper ventilation. If the dishwasher is enclosed in cabinetry with poor airflow, heat from drying cycles can degrade electronic components. Maintain 1–2 inches clearance on sides and back per manufacturer specs.
Avoid overloading the circuit. Running the dishwasher simultaneously with high-draw appliances (electric kettle, toaster oven) on the same 15A or 20A circuit causes voltage drops that stress control boards. Space out usage or consult an electrician about dedicated circuits.
Clean the air intake vents. Some models have vents on the kickplate that cool internal electronics. Vacuum these monthly to prevent dust buildup.
Use the dishwasher regularly. Infrequent use allows moisture to accumulate in the control board housing. Running a cycle weekly keeps components dry.
Whirlpool dishwashers generally see control board failures after 8–12 years of typical use. Following these steps can push that lifespan closer to the 15-year mark, reducing the likelihood of premature replacement.
Conclusion
A faulty control board doesn’t mean the end of the road for a Whirlpool dishwasher. With careful diagnosis, the right replacement part, and methodical installation, homeowners can restore full function for a fraction of professional repair costs. The key is ensuring the correct part number, documenting wiring before disassembly, and working safely with the power disconnected. Regular maintenance and surge protection extend board life, keeping the dishwasher running reliably for years.